
Our sub genre is a slasher therefore we had to focus on the appearance of our antagonist to make it obvious to the audience who was wicked and who the victim is. I searched on Youtube different horror makeup looks that would allow our antagonist to look "scary" and came up with a particular look, of which I tried on Esther. The reason I chose this makeup look was because our character will not be verbal and will only be hoarsely screaming. This look therefore not only suits the character's theme, but also has the terrifying look.
Equipment:
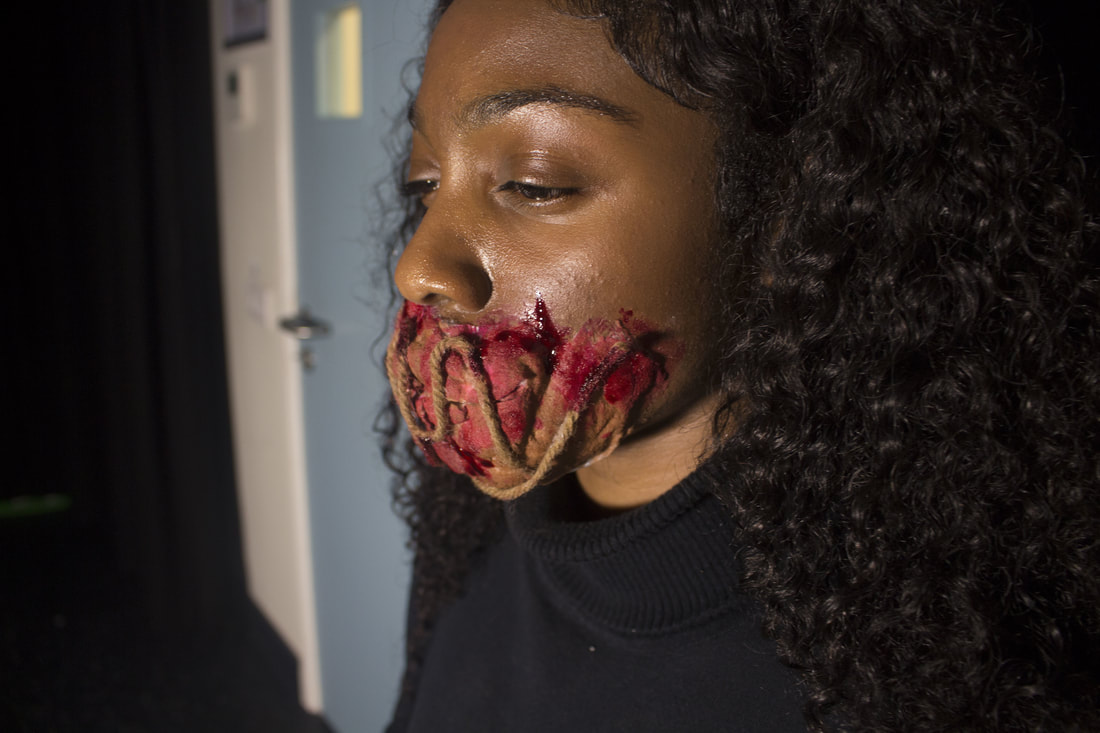
There are some pieces of equipment mentioned in the video that was advised to purchase however, due to the delivery time, we wouldn't have gotten it in time (Kryolan burn and injury colour wheel) which meant steps had to be missed such as cutting off the paper mache and applying the makeup on the lips. Furthermore there were adaptions that had to take place whilst doing the makeup. One of which was that the paper mache around the mouth area wasn't dry enough (due to the time given and the fact that we had no hair dryer) making it difficult to pierce a hole to loop the hemp thread through. Instead, I used the PVA glue to stick it to the mouth are in a way which made it look like the mouth was sewed.
- 1 roll of Andrex toilet paper £0.33
- Superdrug cotton wool £1.49
- Poundland red blush £1
- Poundland makeup sponge £1
- Hemp thread £1.31
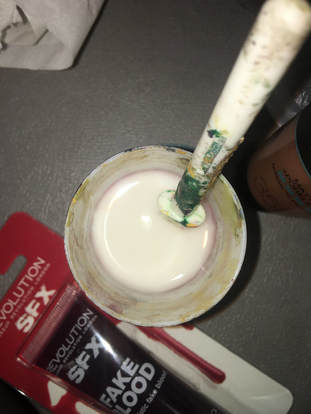
- Makeup foundation £7
- SFX fake blood £2
- Scissors £1
- PVA glue £3
There are some pieces of equipment mentioned in the video that was advised to purchase however, due to the delivery time, we wouldn't have gotten it in time (Kryolan burn and injury colour wheel) which meant steps had to be missed such as cutting off the paper mache and applying the makeup on the lips. Furthermore there were adaptions that had to take place whilst doing the makeup. One of which was that the paper mache around the mouth area wasn't dry enough (due to the time given and the fact that we had no hair dryer) making it difficult to pierce a hole to loop the hemp thread through. Instead, I used the PVA glue to stick it to the mouth are in a way which made it look like the mouth was sewed.

This tissue was taken from a roll of Andrex toilet paper purchased from wilkinson.
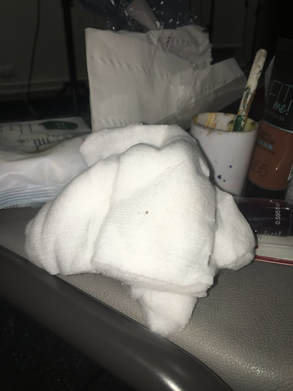
Cotton wool was purchased from Superdrug for £1.49
For future reference, if we do attempt this look again, most likely not, the Kryolan burn and injury colour wheel can be purchased from Red Carpet FX online for £13. This purchase would be useful and would therefore allow me to complete all the steps and cut the paper mache before painting the interior (actual mouth area).
|
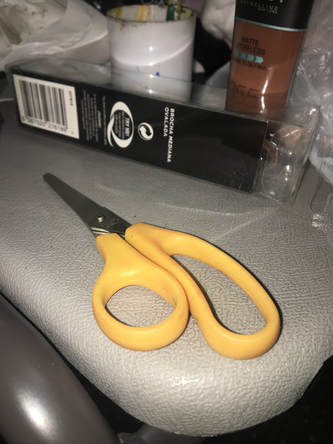
Scissors were purchased from poundland for £1
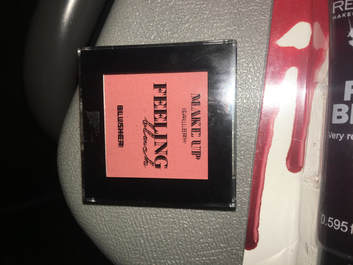
Blush was purchased from poundland however we didn't end up using it as the mouth are was too wet to apply blush.
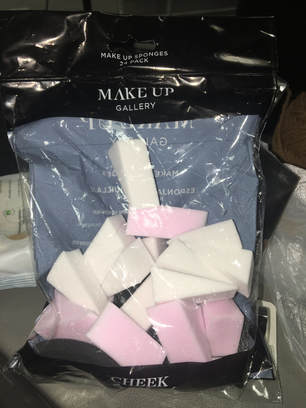
These makeup sponges were used to apply foundation to the mouth area. They were purchased from poundland for £1.
|
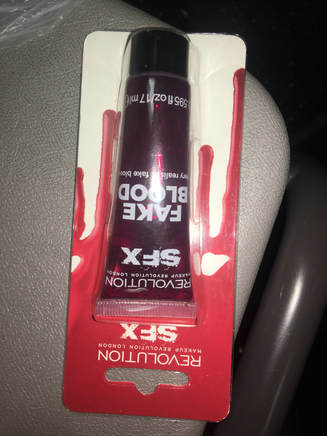
SFX fake blood was purchased from superdrug from their Halloween edition for £2
The glue was purchased for £3 from The works.
Another way to improve this look for the future if attempted again would be to bring a hairdryer to speed up the drying process as this would make it easier to pierce holes for the thread and further allow blush to be applied in certain areas. Also rather than using PVA glue, the suggested item would be liquid latex (the local stores didn't sell it and if ordered, the item wouldn't have come in time so I had to do a bit of improvisation.
|
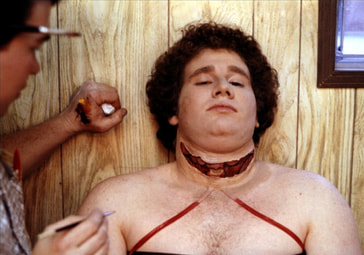
Final look:
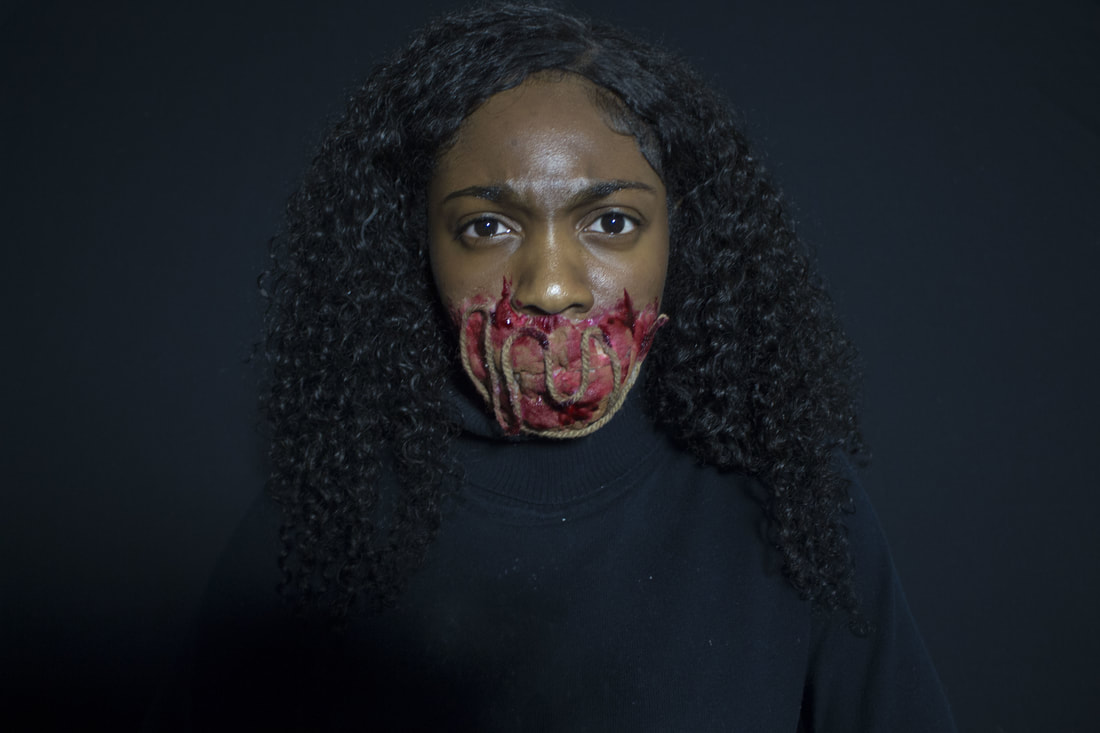
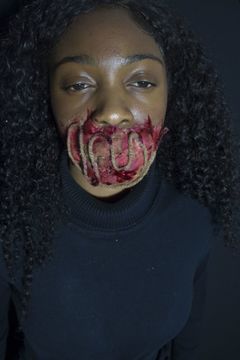
This was the final result for the tutorial I followed. As you can see the result doesn't resemble the expectancy for a various number of reasons including the lack of experience, the missing equipment therefore consequently missing crucial steps and the limited time given. This look will be recreated in our own time as we will be able to spend as much time as needed on the makeup. Furthermore, the aim of this look was to make it look "scary" so when the look has been recreated, if we are still not satisfied with the outcome, a different approach will be taken into consideration i.e. cuts across her chest and face which would still be suitable for the character as the movie's title "Slice" connotes ideas of knives and that is essentially her constant weapon used.
Further research will be made into creating cuts on her as the results are more achievable. The equipment used for this look are more or less the same as the equipment needed to make the cuts i.e. latex, tissue, a colour wheel for scars and burns and fake blood (although this is optional).
As the antagonist is a females, there will be makeup such as black eyeshadow, dark lipstick as well as the injuries. The dark colours will all be used to connote evilness which will make it very clear to the audience who the antagonist is.
|
|
|
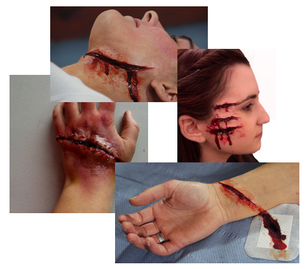
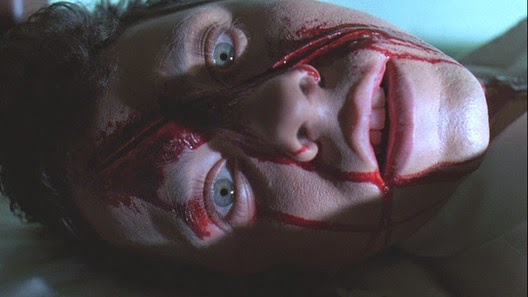
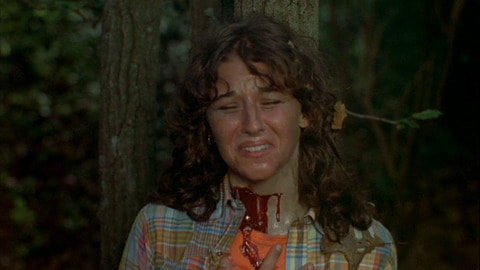
Both the antagonists and the victims will have cut injuries as this represents the title of the movie "Slice". These are the cuts I will be creating on all of the characters as they will all be injured at some point during the trailer. The cuts have been inspired by the characters in the movie "Nightmare on Elm Street". His go to weapon are sharp equipment such as axes, knives so to recreate this idea, except our antagonist will have super long nails and she will use them on these male victims to injure/ kill them (an idea very similar to the original Friday the 13th in the 1980s. As a result of this weapon, each victim will have cuts at some point which is very similar to how Freddy Kreuger injured his victims. The sizes of each cut will vary and the area in which they are found will also be different i.e. cuts on the cheek, arm, throat and chest and all sizes won't be the same.
|

|

